VNROM Activity Launcher APK
How To Install VNROM Activity Launcher APK 2026
VNROM Activity Launcher APK lets you easily access hidden Android activities, launch system apps, create quick shortcuts.Download vnrom bypass activity launcher latest version for free.
Locked out of your Android? Don’t panic! With VNROM Bypass APK 2026, you can remove Google FRP lock in just a few minutes,no tech skills needed.
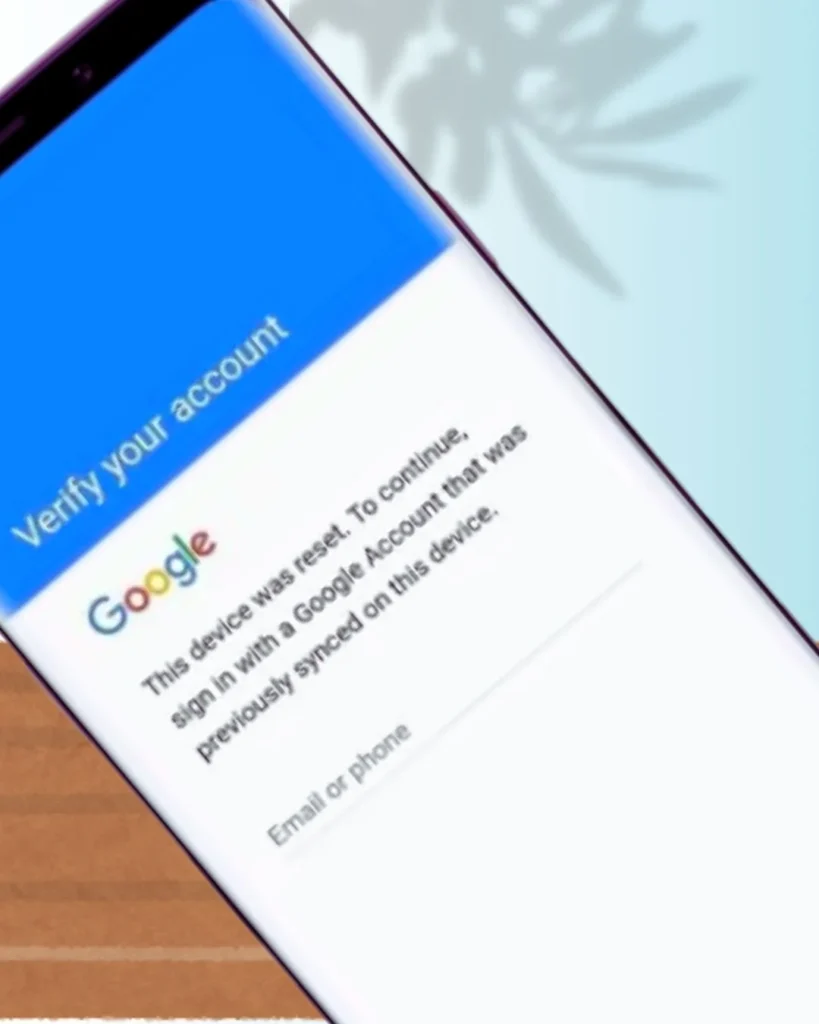
Activity Launcher vnrom is a powerful tool that helps you unlock your Android phone when you’re stuck behind the FRP lock (Factory Reset Protection) screen.When you just reset your phone .
What is VNROM Activity Launcher APK?
A vnrom Activity Launcher is a simple Android application that lets you open hidden settings, features, and tools on your phone. When you restart the phone it asks for your old Google account.You can’t remember the password and boom, you’re locked out .
Don’t panic, that’s where Activity Launcher comes in.
In this guide, you’ll learn how this simple but smart tool lets you access hidden system activities and bypass FRP safely no PC required, no paid software, just your phone and a few clever steps.
Download VNROM Activity Launcher
How To Use VNROM Bypass Activity Launcher
When you restart your phone after reset Factory Reset Protection(FRP) Automatically on .It helps to protect your phone from Illegal login
Before we start, let’s see what VNROM activity launcher does.
Reset State: This process restores your phone to its original factory condition and deletes all user data completely
Activity Launcher Function: Scans your phone and shows all hidden system activities even those that are normally locked.
FRP Bypass Role: Helps you open hidden login or setup screens, letting you add a new Google account and vnrom bypass FRP protection.
This technique work best on 12, 13, and 14 Android versions
How To Bypass FRP Using VNROM Full Guide
Don’t worry if your phone is locked and you forgot the password.you can’t just install apps.
To unlock the device we need to do two main steps
- Get the vnrom Activity Launcher APK onto the phone.
- Use that app to reach the phone’s setup screens.
In my experience, the hardest part is getting the APK installed on a locked device so read each step carefully and follow the safe notes to avoid problems.
We’ll use two methods for this:
TalkBack Shortcut : To access Accessibility settings and open EasyShare.
EasyShare / Phone Clone : To transfer and install Activity Launcher from another phone.
How To Install EasyShare And Activity Launcher Step-by-Step
Open your browser →search VNROM.com.in (official) and download the VNROM Activity Launcher APK
Steps of installation:
- Go to VNROM.com.in (official) and download the VNROM Activity Launcher APK.
- On your phone: Settings > Security → enable Install unknown apps or Allow unknown sources for the browser/file manager.
- Locate the downloaded APK (Downloads folder) and tap Install.
- After install, open the Activity Launcher app to confirm.
- Repeat the same steps to download and install EasyShare
Download Activity Launcher
Download Easy Share phone clone
TalkBack Shortcut for Settings Access
Talkback helps you open the hidden Accessibility Settings to get to a browser.
Before you begin, charge your phone enough.Also, make sure you’re connected to a stable internet network
Step 1: Start Your Device Setup
Turn on your phone. On the first screen (the “Welcome” screen), tap Start.
Choose your location and agree to all the terms and conditions.
When you reach the Wi-Fi setup page, connect your device to a Wi-Fi network.
Step 2: Stop at the Sign-In
When the sign-in options appear:
Do not try to sign in using a phone lock or Google account.
Instead, go back to the Wi-Fi connection page and stay there.
Step 3: Turn ON TalkBack
Now we’ll turn on the TalkBack feature:
Press and hold both Volume Up and Volume Down buttons for about 5–10 seconds.
When you see TalkBack turn ON, you’ll hear or see confirmation on the screen.
Step 4: Open TalkBack Settings
With TalkBack ON, draw the letter “L” on your screen using one finger.
A menu will appear — double-tap on “TalkBack Settings.”
Step 5: Enable Braille Keyboard
From the pop-up menu, select “Braille Keyboard.”
Double-tap again to enable it.
Then go back and double-tap “TalkBack” to make sure it’s activated.
Step 6:Return to Network Settings
Press the Volume Up and Down buttons together again to turn OFF TalkBack.
Go back until you see the Wi-Fi connection window again.
Tap “Add New Network” — don’t add anything, just stay on that screen.
Step 7: Turn On Accessibility Mode
Long press the space bar on your keyboard.
From the options, choose “TalkBack Braille Keyboard.”
This will enable Accessibility mode.
Step 8: Open Google Assistant
Tap the three dots (⋮) at the top-right corner to turn ON Assistant mode.
When the mic appears, say: “Open EasyShare.”
Allow all permissions and tap Next when asked.
Step 9: Use the Phone Clone Feature
Once EasyShare opens→Tap “Phone Clone.”
You’ll see two options — Old Phone or New Phone.
Choose “New Phone.”
Now select your phone type:
Choose Android (or iPhone if that’s what you’re using).
Tap Agree to accept all permissions and allow the app to continue.
Step 10: Scan the QR Code
After selecting Android, a QR Code Scanner screen will appear.
You can now select the scanner option to move forward.
Step 11: Prepare Another Phone for EasyShare Setup
Download EasyShare and Activity Launcher apps.
You’ll use them to complete the setup and data transfer process.
Now hold 2nd phone and download two application“Easy share” and “activity launcher”
How To Use EasyShare / Clone Phone For Quick FRP Bypass
A Phone Clone application let’s you to transfer images, videos, and apps between phones with ease. It’s commonly used while configuring a new phone. There is no need for a computer or cable because the transfer is wireless.
On your old phone, open the EasyShare or Clone Phone app.
Select the option “Old Phone.”
On your new phone, open the same app and select “New Phone.”
You’ll see a QR code appear on the new phone’s screen scan it using the old phone.
Enter the password or PIN of the old device (if asked).
Select “Start” → cloning process will begin.
Wait until the transfer completes.
Step 1: Open Activity Launcher on the New Phone
After the cloning process, go to your new phone’s screen.
Tap the three-dot icon (⋮) on the top right corner and select “Apps.”
Open Activity Launcher (it should be installed after cloning).
A menu pop up installed packages search → Easytouch
Step 2: Enable EasyTouch or Floating Ball Settings
In the Activity Launcher, scroll or search for “EasyTouch” under the installed packages.
Press and hold EasyTouch, then drag and tap “Run.”
If it launches successfully — perfect!
If not, go back and select “Floating Ball Setting Activity.”
Launch it and turn ON EasyTouch.
Step 2: Customize the EasyTouch Menu
Once EasyTouch is active, tap the floating ball and go to “Customize Menu.”
Tap “Add Menu” and choose “Activity Launcher.”
Go back, open EasyTouch again, and tap Settings to open the phone’s settings.
Step 3: Access Android Setup from Activity Launcher
From EasyTouch, open the Activity Launcher again.
In the installed packages list, search for “Android Setup.”
Select it, then choose “Launch Activity.”
If it doesn’t open, repeat the process again.
Once it opens, the screen will show the Finish Setup page.
Tap “Start” to continue.
Step 4: Complete Setup and Sign In
Tap “Skip” when asked to connect to a mobile network.
Select “Next”, then choose “No cable.”
On your old phone, turn on Copy without cable mode.
Choose “Next” on both phones and verify your pattern or password if required.
Sign in with your Google Account, then press “Next.”
Both devices will show the same model number — confirm it.
Step 5: Connect Both Phones
On the old phone, say “Set up my device” in Google Assistant.
It will automatically detect your new device.
Match the verification shapes or numbers on both screens.
Tap “Next” and then “Copy.”
Enter the password or PIN of the old phone.
Your contacts, apps, and Gmail accounts will shift to the new device.
If you don’t want to copy anything, select “Don’t Copy.”
Step 9: Finalize Setup
Agree to all terms and continue through the setup screens.
Skip the screen lock and other steps if you want.
When you see “Skip Card” or “No Thanks,” tap those options.
Your setup is now complete
Remove Gmail Account (Optional)
Go to Settings → Google Account → Remove Account.
Turn off all related sync options
Why people use VNROM (use-cases)
FRP bypass (Google account bypass): When a device requires the previous Google credentials after a factory reset. VNROM helps access settings or install helper apps to remove FRP.
Activity Manager access: Launch hidden activities (like account settings) which normal UI blocks.
No PC required (some methods): Many VNROM methods are mobile-only, useful for users without a computer.
Supports many brands: Samsung, Xiaomi, Oppo, Vivo, Realme and others (brand-dependent methods).
Key features & supported devices
| Feature | Description |
| App Name | 3 MB (Lightweight APK) |
| Installation Speed | Fast download & quick install |
| Root Access | Not required for most FRP bypass methods |
| Main Function | Opens hidden Android activities and system settings |
| Usage Purpose | Commonly used during FRP bypass process as a toolkit helper |
| Compatibility | Works with multiple brands: Samsung, Xiaomi, Oppo, Vivo, Huawei (compatibility depends on Android version & vendor patch |
| Version | VNROM Activity Launcher v2.1.4 (2026) |
Latest version & vnrom apk download 2026 (safety)
Latest version (example): VNROM Activity Launcher v2.1.4(2026) always verify the version on VNROM.com.in. official indian website.
Download tips:
Pro tip: After bypass, factory reset the phone again (if method suggests) and then set up with your Google account to ensure clean state.
Step-by-step FRP bypass method (general Samsung example)
- Reset device and reach Google verification screen.
Connect to Wi-Fi. - Use a method (USB OTG, browser exploit, or a helper app) to access file manager or install APK.
- Install VNROM Activity Launcher APK (or open it via browser if available).
- From VNROM, open Settings → Accounts and remove the previously-synced Google account OR navigate to Accessibility / Google Play Services to disable verification flow.
- Reboot device, complete setup with a new Google account.
Also Read: How to Use VNROM Activity Launcher to Remove FRP on Samsung
Note: Manufacturer patches change frequently. The exact sequence differs by model and Android/security patch. This is a generalized example to explain the flow.
VNROM vs Other FRP Bypass APKs Quick Comparison
- VNROM Activity Launcher — lightweight, focused on launching activities and bypass flows.
- Technocare APK — many users prefer it for specific Samsung versions; sometimes heavier.
- Generic FRP Bypass APKs — many copies exist; reliability varies.
Which to choose? Start with VNROM for activity-launch methods. If that fails, try a dedicated brand-specific tool (e.g., technocare for certain Samsung security patches).
Troubleshooting & safety warnings
If installation fails: Enable unknown sources for the correct app (browser or file manager).
If methods don’t work: The device may have a newer security patch blocking bypass — manufacturer updates close exploits quickly.
Legal/safety warning: Do not use bypass methods on stolen or unauthorized devices. FRP bypassing is intended for owners who lost access to their Google account. Misuse can be illegal in many jurisdictions.
Conclusion
If you’re tired of confusing tutorials or broken links — stop wasting time.
vnrom.com.in gives where you’ll find the updated VNROM Activity Launcher 2026 guide with safe download links and clear steps.
It’s all explained in one place, easy to follow and risk-free.
If you have questions about the VNROM Activity Launcher or FRP Bypass?
Or need help with a specific phone model (like Vivo Y20 FRP or Samsung FRP)?
Don’t worry — vnrom.com.in is here to help you out! Let’s Us know
Frequently Asked Questions
Q:Which Android versions work best with Activity Launcher?
Activity Launcher works on many recent Android versions. It is commonly used on Android 12, 13, and 14, This method is optimized for Vivo.
Q: Can data be recovered after a hard reset?
A: No. A hard reset deletes all personal data on the phone. Always back up important photos and files before you reset any device.
Q: Is the VNROM Activity Launcher APK safe to use?
A: The official Activity Launcher from the Play Store is safe. Be careful with unknown APK sites — check sources and use virus scans.